By default, a WatchGuard firewall uses its own self‑signed certificate for IKEv2.
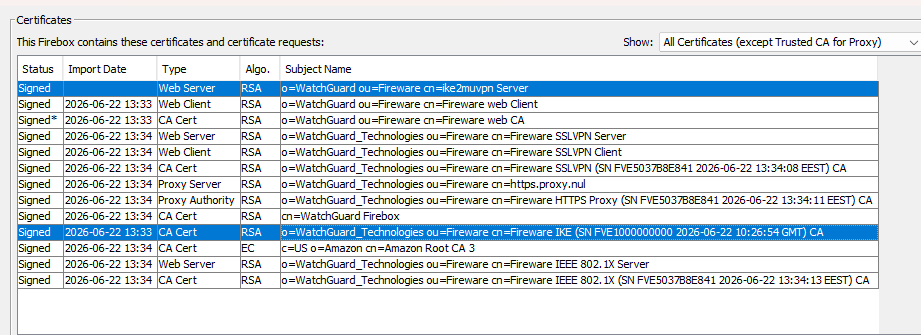
Important: WatchGuard does not support user certificates for IKEv2 login! The certificate is used only to encrypt the connection between the IKEv2 client and the firewall, so the username and password can be sent securely — similar to how HTTPS works on websites.
If you use the firewall’s default self‑signed certificate and then:
- upgrade to a new firewall device, or
- reset Firebox to factory settings
…the Firebox will have a new self‑signed Root CA certificate and any computers that already had a working IKEv2 connection must be updated with this new Root CA certificate, otherwise IKEv2 will stop working.
You can NOT export the old firewall’s Root CA certificate and import it into the new firewall.
Best practice
Use a real, trusted certificate on the firewall and configure IKEv2 to use that certificate. Then you don’t need to install any certificate on the computers, because they already trust public Certificate Authorities.
In Active Directory networks, another option is:
- Create a new certificate in the Firebox.
- Sign it using Microsoft AD Certificate Services (ADCS).
Windows AD domain computers automatically trust the ADCS server, so again no certificate installation is needed on the clients.(WatchGuard’s guide: signing a certificate with Microsoft CA.)
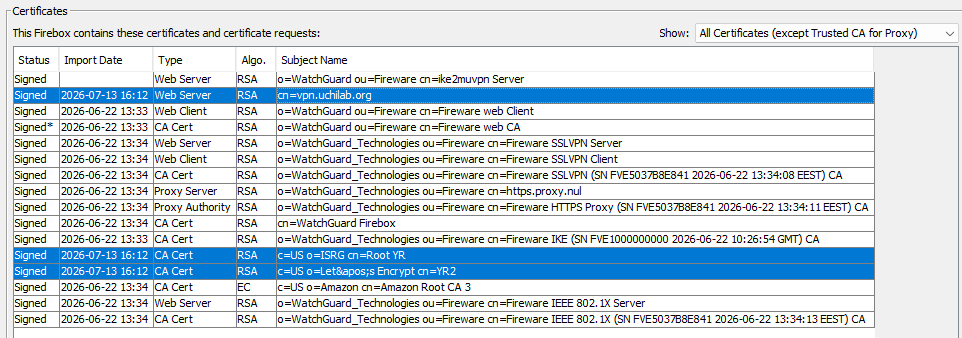
In this example, I created a new Let’s Encrypt RSA cert in PEM format for vpn.uchilab.org using Simple-Acme. I recommend also checking certkit.io for cloud certificate management.
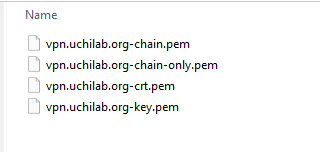
Download Let’s Encrypt Root CA and Intermediate certificates.
Open in Firebox System Manager / View / Certificates / Import Certificate.
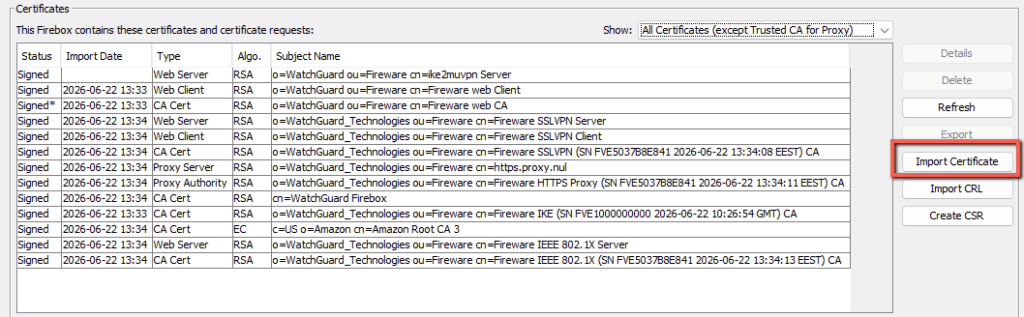
The Certificate Import Wizard imports:
- certificate
- private key
- Let’s Encrypt Intermediate certificate
- Let’s Encrypt Root CA certificate
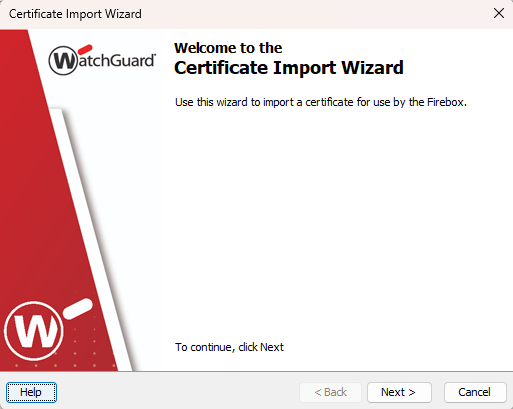
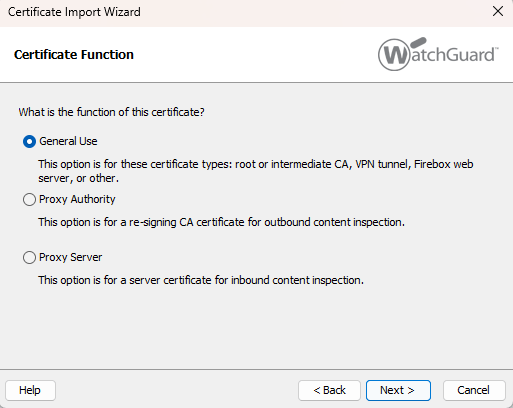
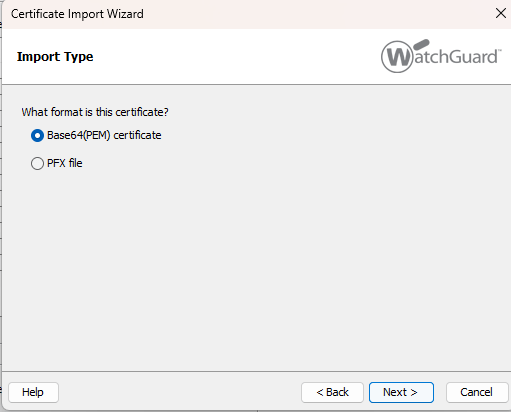
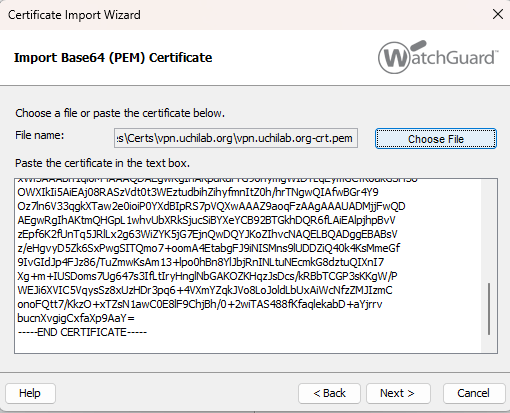
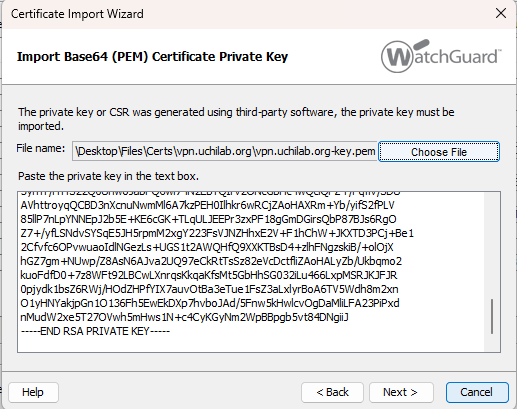
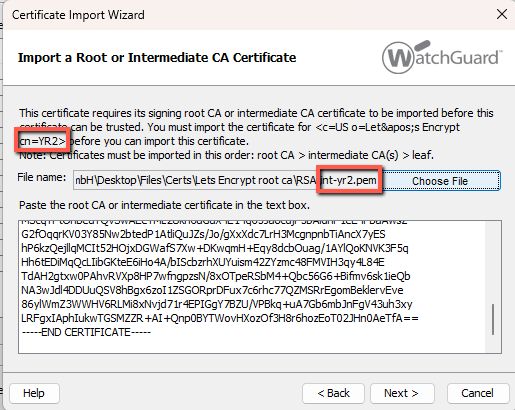
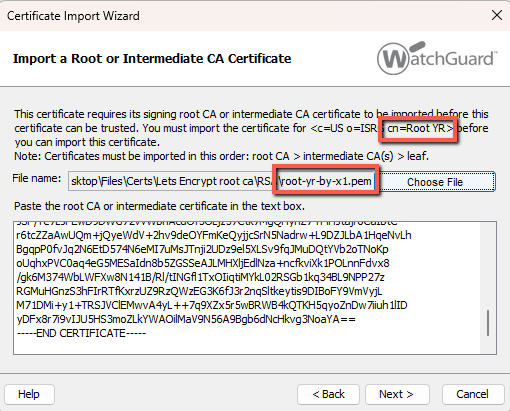
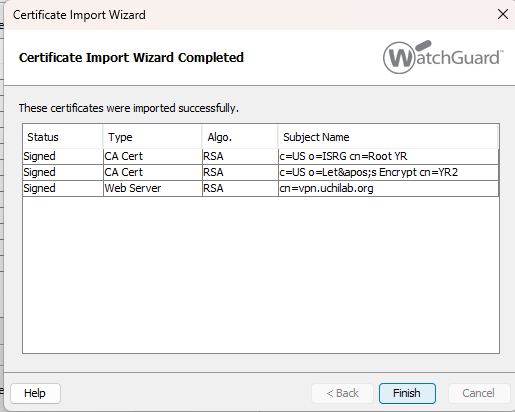
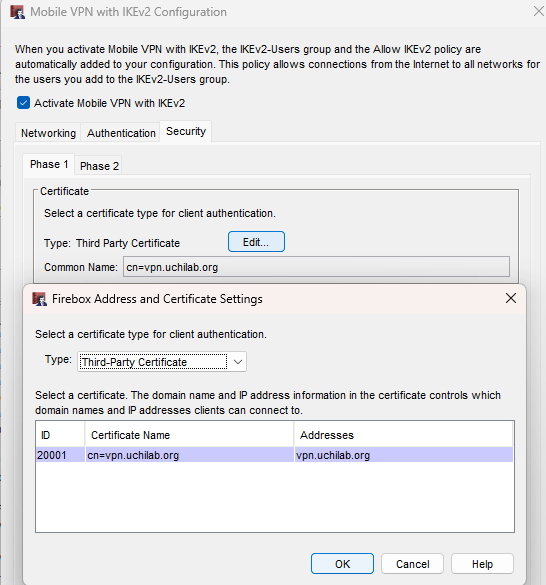
In the Firebox IKEv2 settings, select this new certificate.
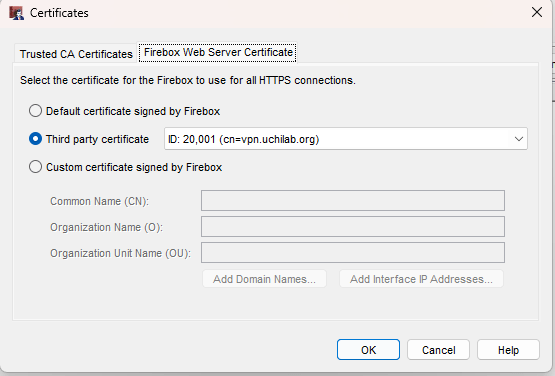
You can also configure the Firebox to use this certificate for example: WebUI, Access Portal, and other HTTPS connections to the Firebox.
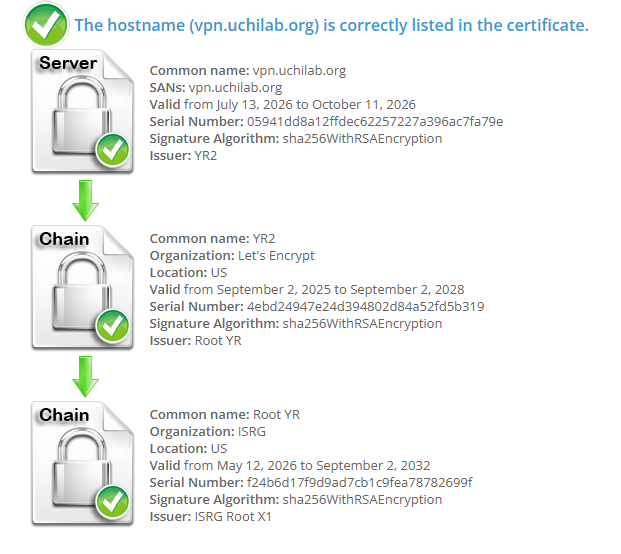
If your firewall’s SSLVPN is enabled or HTTPS portals are accessible from the internet, you can test the certificate chain using online tools such as:
If you use a real, trusted certificate on the firewall, you do not need to install any Root CA certificate on the IKEv2 client computers.
In this example we are using a Let’s Encrypt certificate, and Windows already includes the Let’s Encrypt Root CA by default. This means Windows automatically trusts the firewall’s certificate.
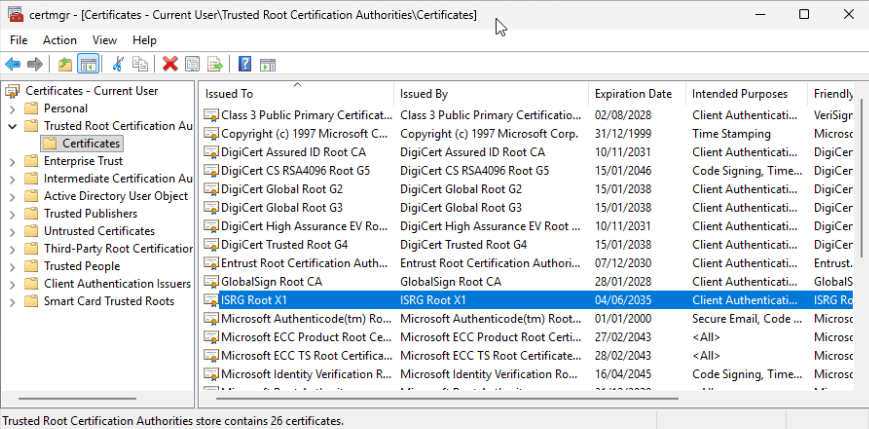
You can check this on a Windows machine:
- Open certmgr.msc
- Go to Trusted Root Certification Authorities
- You will see the default Let’s Encrypt ISRG Root X1 certificate listed there.
Automatic installation with the Firebox IKEv2 Client Profile
If you use the default IKEv2 Client Profile script from the Firebox to install the VPN settings, the script will automatically install the Firebox CA certificate on the computer. So, in most cases, you do not need to install it manually.
Installing the Firebox CA certificate with AD GPO (or Intune)
You can also deploy the Firebox CA certificate through Active Directory Group Policy or Intune.
AD GPO path:
- Computer Configuration → Policies → Windows Settings → Security Settings → Public Key Policies → Trusted Root Certification Authorities
Right‑click in the window, choose Import, and select the Firebox CA certificate.
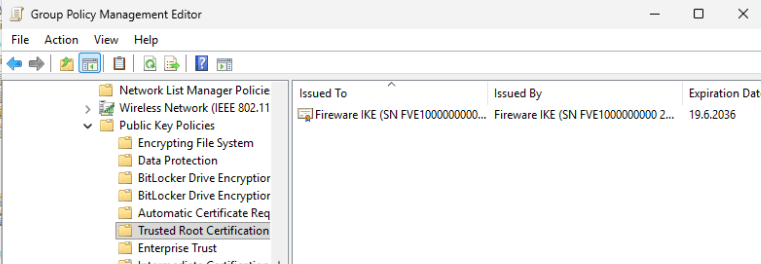
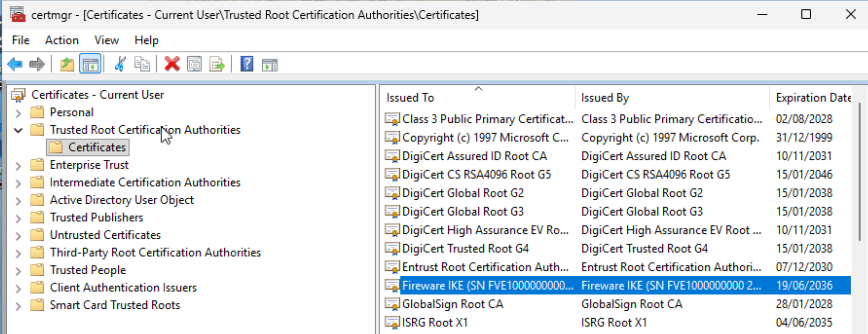
You can check this on a Windows machine:
- Open certmgr.msc
- Go to Trusted Root Certification Authorities
- You will see the default Firebox Fireware IKE certificate listed there.
Where to get the Firebox CA certificate
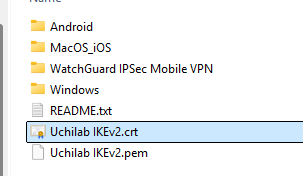
You can find the Firebox CA certificate in two places:
- Inside the IKEv2 Client Profile file you downloaded from the Firebox
- Or export it directly from Firebox System Manager → Certificates
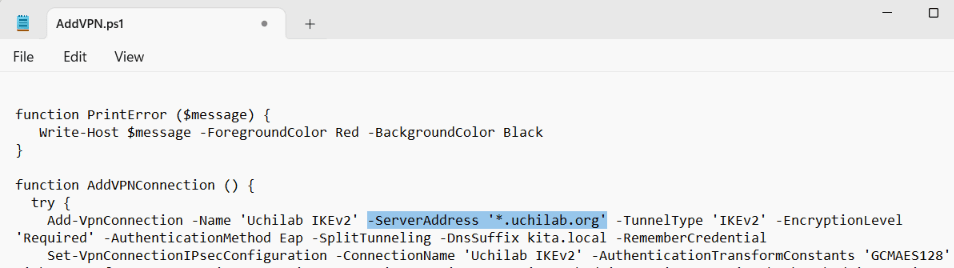
Firebox supports wildcard certificates too. If you use the IKEv2 Client Profile script, you must edit the AddVPN.ps1 file (found in the \Windows\ps folder).
When a wildcard certificate is used, the script sets the ServerAddress incorrectly:
-ServerAddress ‘*.uchilab.org’
Change it to the correct server address:
-ServerAddress ‘vpn.uchilab.org’