This guide has three parts. It explains how to install and configure Firebox SSLVPN and IKEv2 with AuthPoint MFA with local users, on prem AD users and Entra ID users.
- Part 1 – Local User Authentication
- Part 2 – on prem Active Directory User Authentication
- Part 3 – Entra ID User Authentication
Part 2 – on prem Active Directory User Authentication
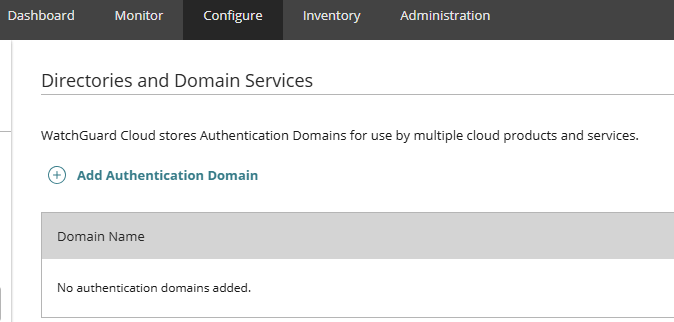
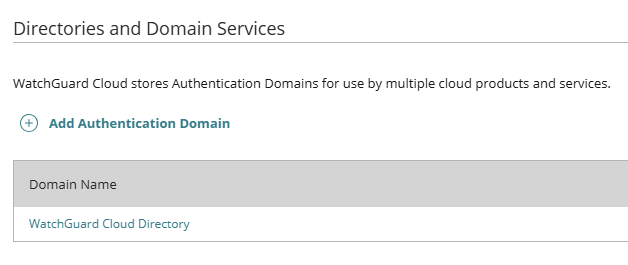
In WatchGuard Cloud, go to Configure > Directories and Domain Services
Click Add Authentication Domain.
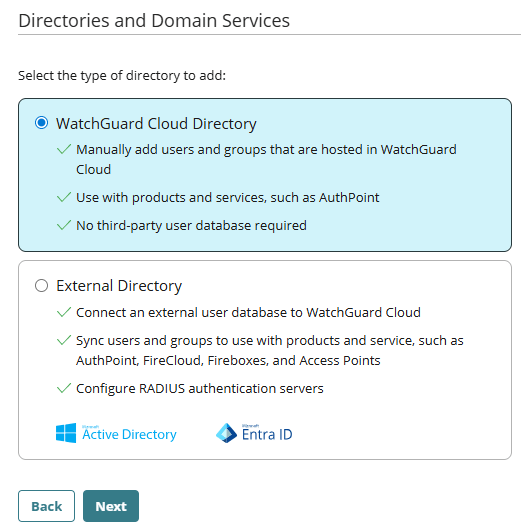
Choose WatchGuard Cloud Directory, then click Next.
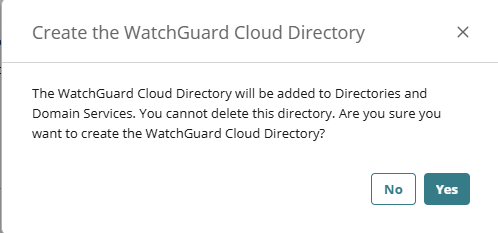
Confirm that you want to create the directory.
Create a Group
AuthPoint uses groups to control which resources users can access. You must create at least one group before adding users.
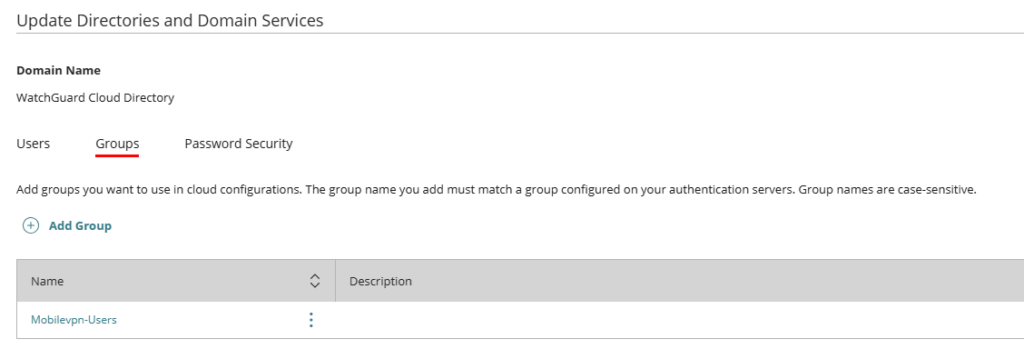
- On the Directories and Domain Services page, click your WatchGuard Cloud Directory.
- Open the Groups tab.
- Click Add Group.
- Enter a Group Name and click Save.
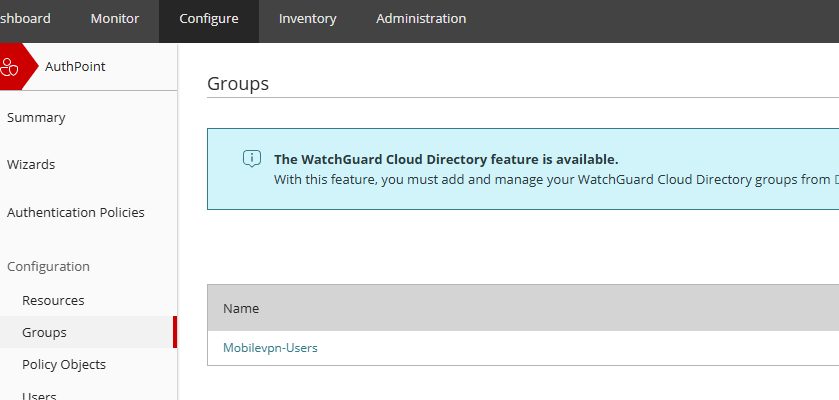
- The group now appears in both the Cloud Directory and AuthPoint.
Important:
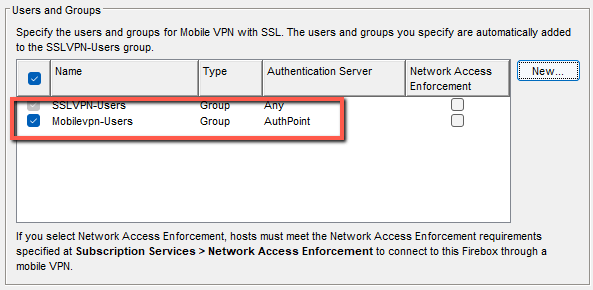
- The Group name must match exactly the group name configured in the Firebox SSLVPN and IKEv2 authentication settings
- It is case‑sensitive
- Default Firebox group name is SSLVPN-User and IKEv2-Users
Prepare Active Directory
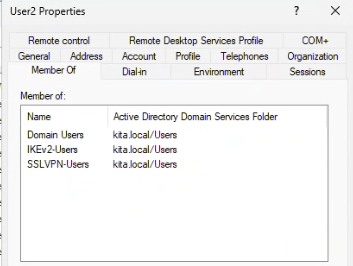
- In your AD server, create the groups SSLVPN-Users and/or IKEv2-Users.
- Add all users who need SSLVPN and/or IKEv2 VPN access to these groups.
- Make sure every user has a valid email address in their AD account.
o This email is used to send the AuthPoint mobile token activation message.
Install the AuthPoint Gateway
The AuthPoint Gateway syncs user information between AD and AuthPoint.
It is only used for syncing users — not for RADIUS or LDAP authentication.
- In AuthPoint Cloud:
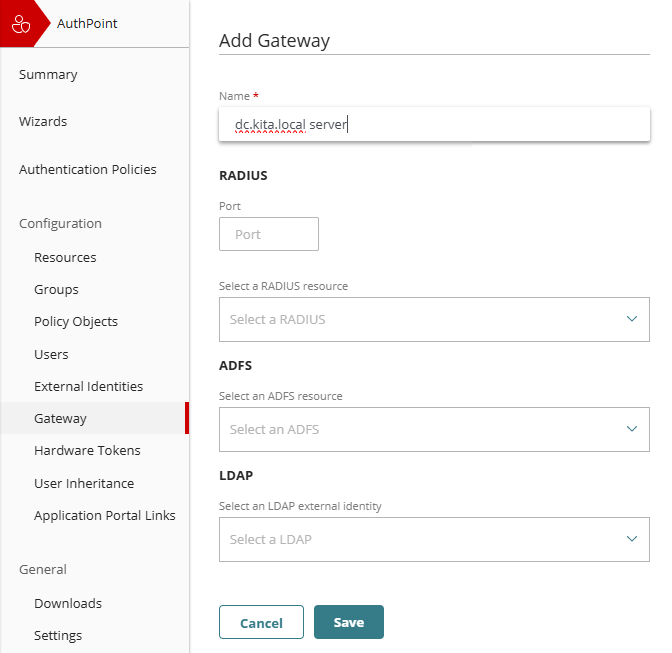
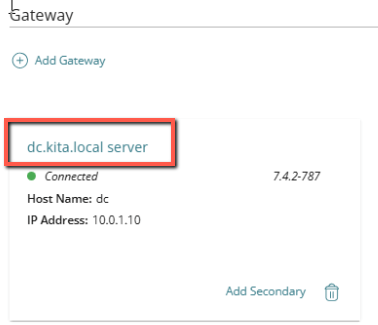
- Go to Gateway
- Click Add Gateway
- Enter a name and click Save
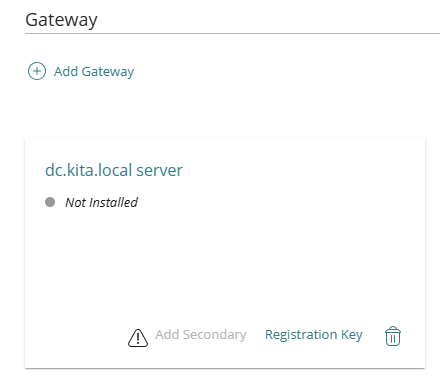
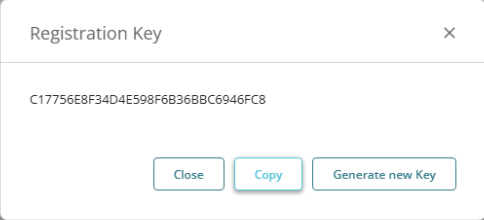
- Open the Gateway tile and click Registration Key
- Click Save
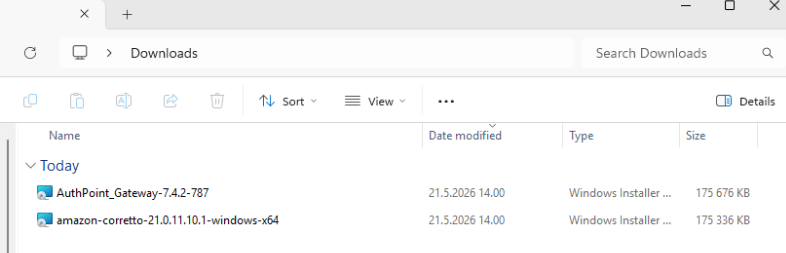
- Go to Downloads → Gateway Installer and download the installer.
- Run the installer on any server that:
- Has Internet access.
- Can reach your AD/LDAP server.
- In this example, the Gateway is installed on the Domain Controller.
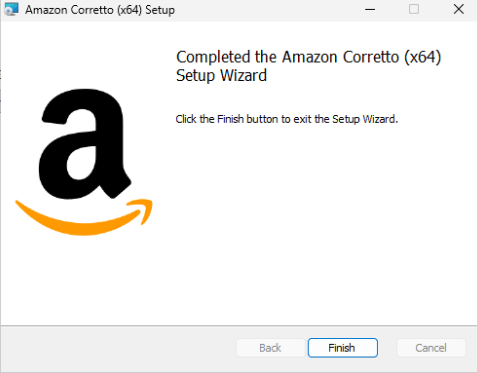
- Install Java before installing the Gateway.
- Recommended: Amazon Corretto 17 or 21
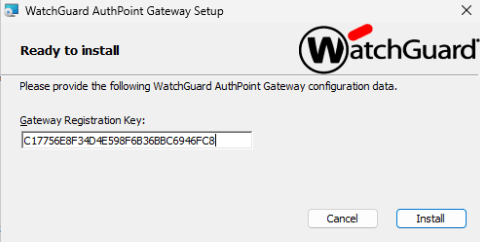
- Paste the Registration Key into the installer.
- Click Install, then Finish.
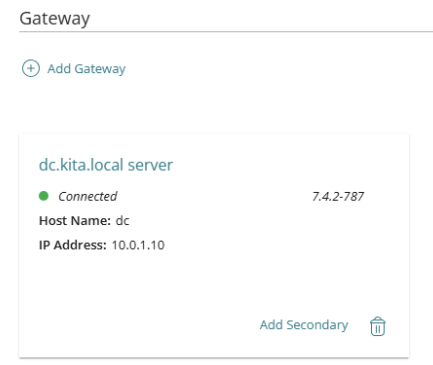
- In AuthPoint Cloud, check the Gateway status icon.
- Green means the Gateway is online and working.
Add an LDAP External Identity
To sync AD users, you must add an LDAP external identity and create queries.
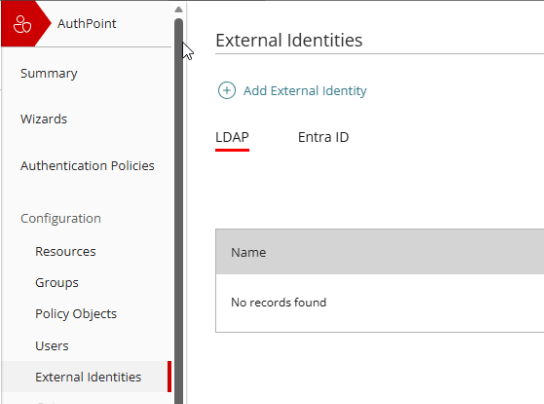
- In AuthPoint Cloud, go to External Identities.
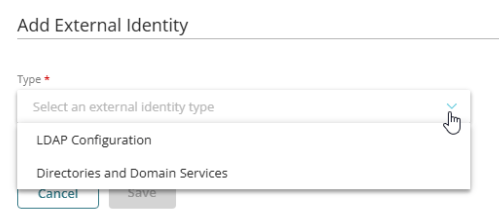
- Click Add External Identity.
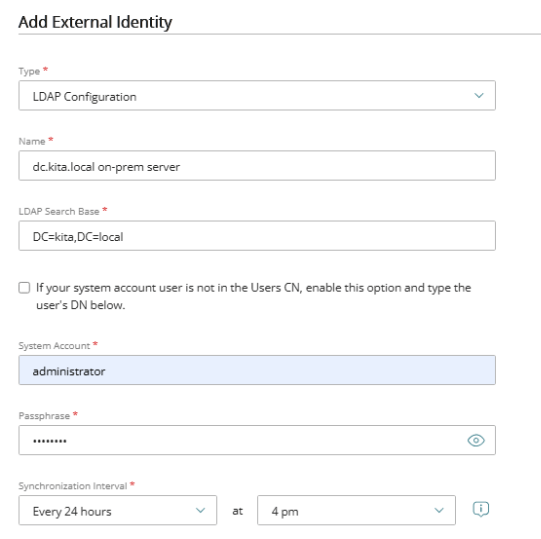
- Select LDAP Configuration.
- Enter a name.
- In LDAP Search Base, enter your domain in LDAP format.
- Example: domain kita.local → DC=kita,DC=local
- Enter the System Account and Passphrase.
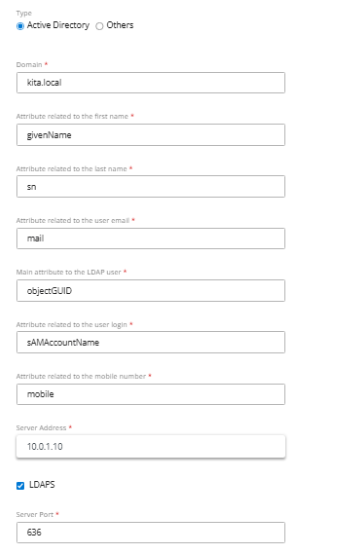
- Enter your AD domain name.
- Enter the server address (IP of your AD server).
- Choose LDAPS (636) or LDAP (389).
- Leave the other settings as default.
Connect the External Identity to the Gateway
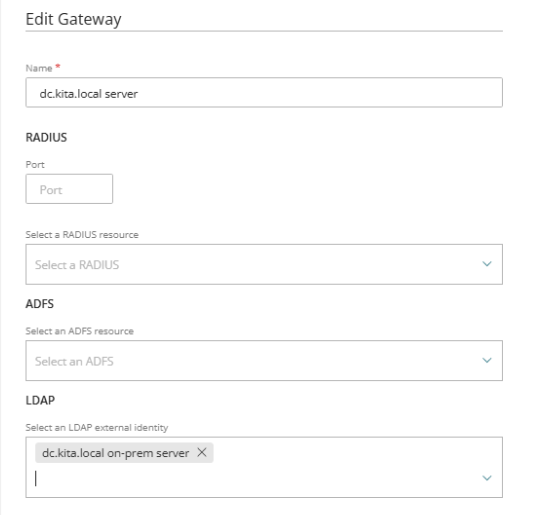
- Go to Gateway.
- Click your Gateway name.
- In the LDAP section, select the external identity you created.
- Click Save.
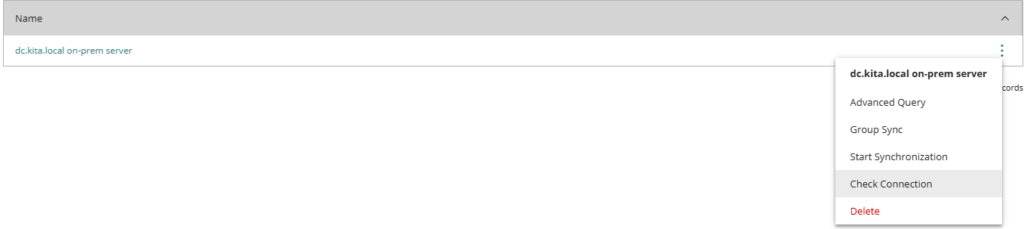
To test the connection:
- Go to External Identities.
- Click the menu next to your LDAP identity.
- Select Check Connection.

Configure Group Sync
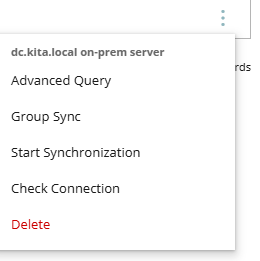
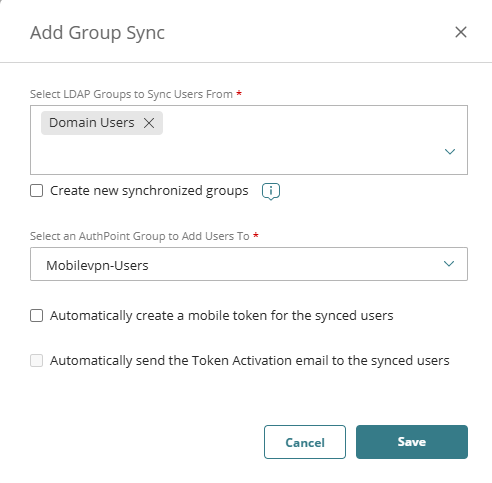
- Select External Identities and from the navigation menu, select Group Sync.
- Click Add New Group Sync.
- In LDAP Groups to Sync Users From, select the AD group.
- Check Create new synchronized group.
- In Select an AuthPoint Group to Add Users To, choose the group you created earlier in Directories and Domain Services.
- If you do not want AuthPoint to automatically create mobile tokens or send activation emails, clear those checkboxes.
Notes About Group Design
There are several ways to configure groups in AuthPoint. Examples:
- If you already have an SSLVPN-Users group in AD and only want MFA for SSLVPN, you can sync that group directly.
- If you want MFA for both SSLVPN and IKEv2 for all AD users, you can sync both groups.
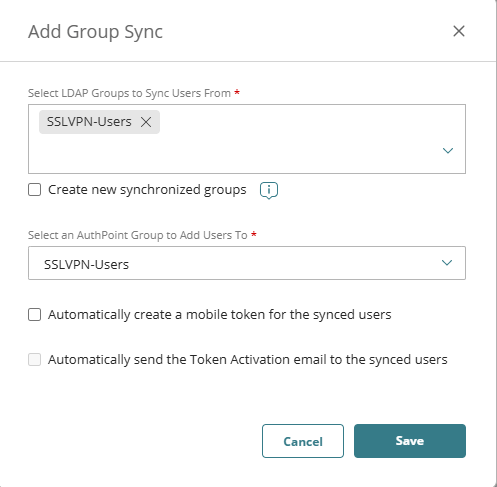
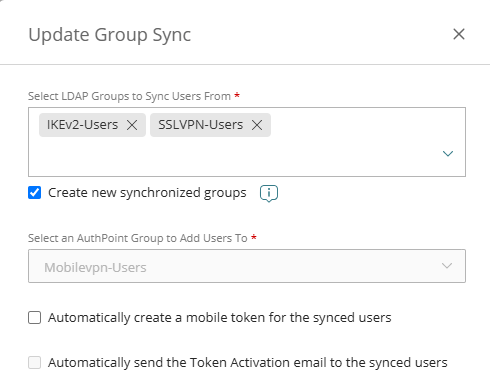
There is no “correct” or “incorrect” method. It depends on:
- How your AD groups are organized
- Whether you want to create new AD groups
- Which resources you want to protect with MFA
Important: The group name must match the Firebox SSLVPN and IKEv2 authentication settings exactly. It is case‑sensitive.
Default Firebox group names:
- SSLVPN-Users
- IKEv2-Users
Start the Synchronization
- Select External Identities and from the navigation menu, select Start Synchronization.
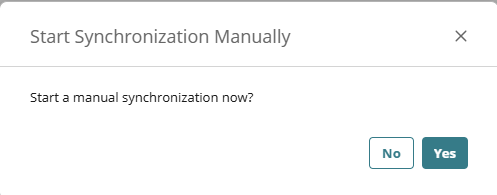
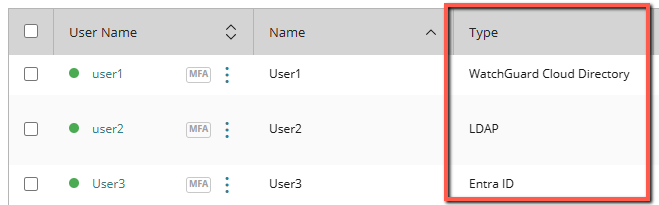
Your AD users will now appear in the AuthPoint Users list as LDAP type. Depending on your Group Sync settings, users may belong to one or more AuthPoint groups.

If you left the default Automatically create a mobile token for this user enabled the user also receives email messages to activate a token in the AuthPoint mobile app.
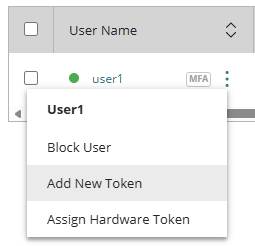
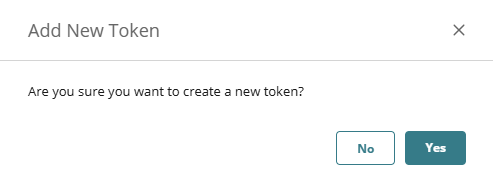
If you cleared the Automatically create a mobile token for this user, go to the AuthPoint Users list choose the user and click the three dots menu and select Add New Token.
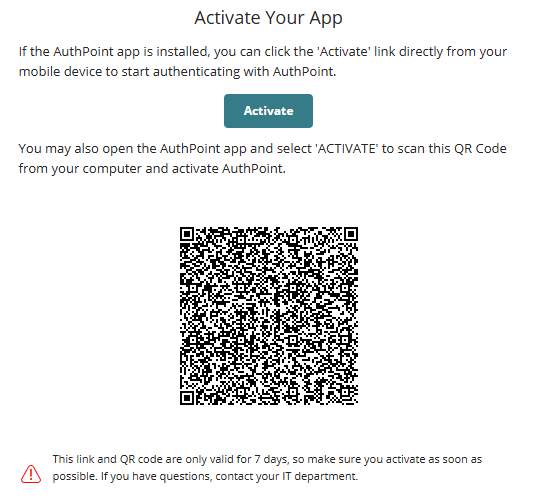
Open the Activation email and click the link in the email. This takes you to the Welcome to AuthPoint web page. If you have not done so, download and install the AuthPoint mobile app on your phone from Apple App Store or Google Play Store.
- If you opened the web page on your phone, tap the Activate button. This opens the AuthPoint app and activates your token.
- If you opened the web page on your computer, open the AuthPoint app on your phone and tap Activate in the app, then point the camera on your phone at the QR code on your computer screen.
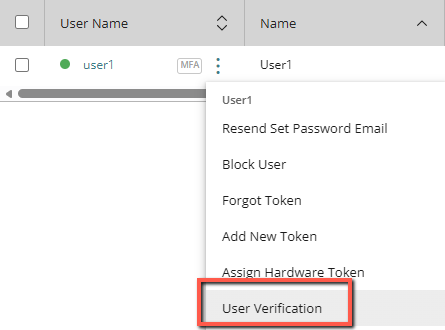
You can see the token on the AuthPoint Users page.

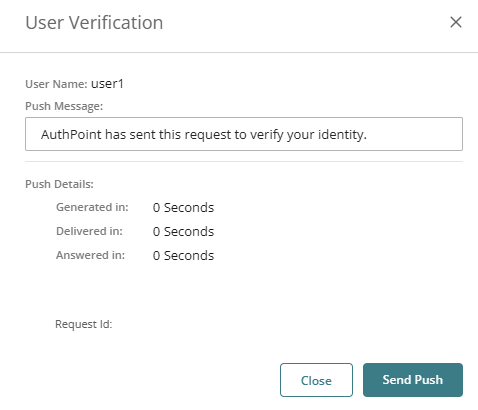
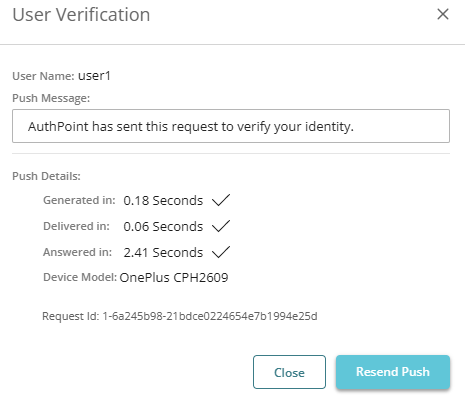
Test that the users get a Push notification to the AuthPoint MFA app.
Your Firebox must be connected to WatchGuard Cloud before you continue.
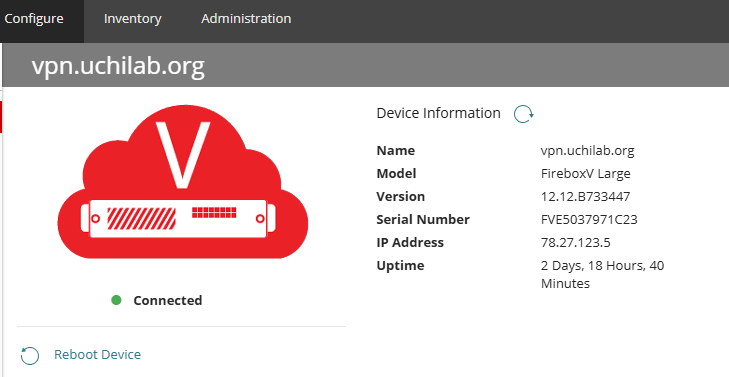
To use AuthPoint as an authentication server on a Firebox running Fireware 12.7 or higher, you must add a Firebox resource in AuthPoint.
Add a Firebox Resource in AuthPoint
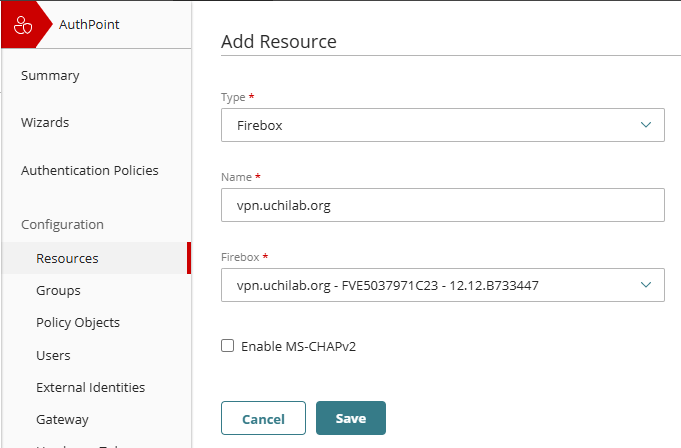
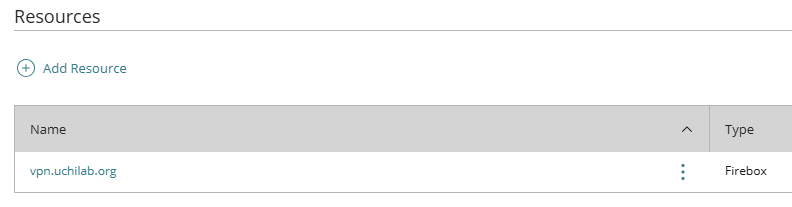
- In WatchGuard Cloud, go to Resources.
- Click Add Resource.
- From the Type list, select Firebox.
- In Name, type a descriptive name for this resource.
- From the Firebox drop‑down list, select the Firebox device you want to connect to AuthPoint.
- If you also want to add AuthPoint MFA to IKEv2 VPN, you need to install and configure a NPS radius server. Check following IKEv2 NPS radius configuration guide.
- Check the Enable MS-CHAPv2
- You don’t need to configure the Filter-ID config in the NPS when using AuthPoint, as AuthPoint is sending its Group names as Filter-ID to the Firebox .
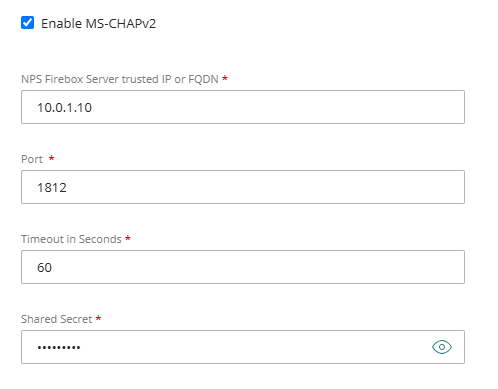
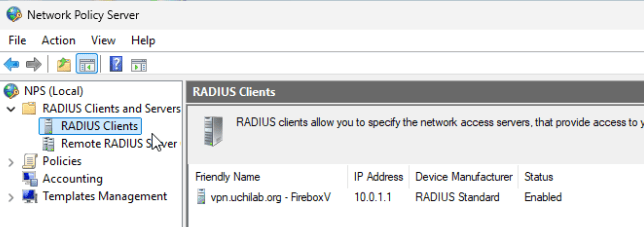
After you add the Firebox resource, the AuthPoint authentication server is automatically enabled on the Firebox.
Configure Zero Trust Authentication Policies
To create an authentication policy:
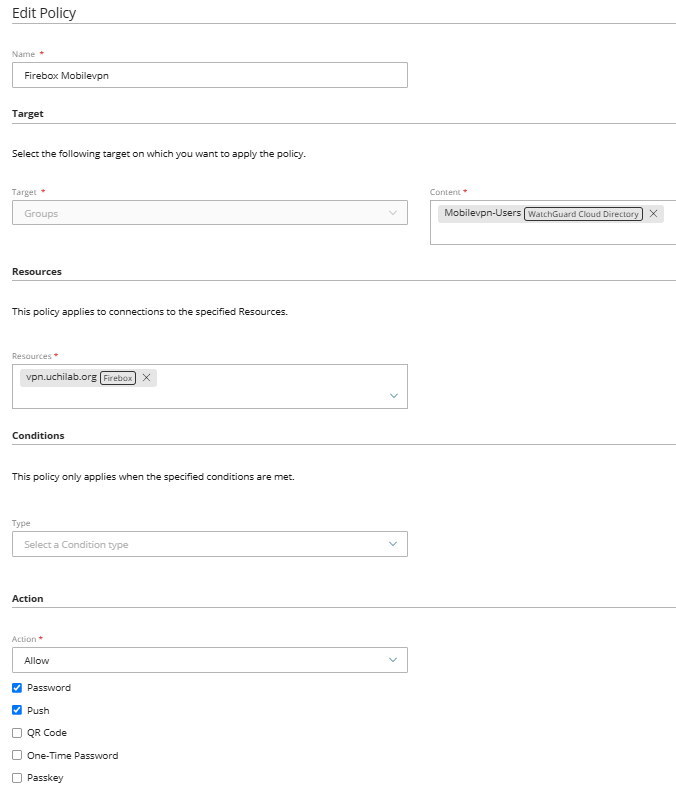
- Go to WG Cloud > Configure > Zero Trust.
- Click Add Policy.
- Enter a name for the policy.
- In the Target section, choose the groups this policy applies to.
- You can select more than one group.
- In this example, select the Mobilevpn‑User group you created earlier.
- In the Resources section, select the Firebox resource.
- In the Action section, choose Allow.
- Select Password and Push.
- Click Save.

Configure Firebox SSLVPN / IKEv2 to Use AuthPoint
In the Firebox settings for SSLVPN and/or IKEv2, do the following:
- Enable the AuthPoint as Authentication Server.
- Add the AuthPoint group name in the Users and Groups section.
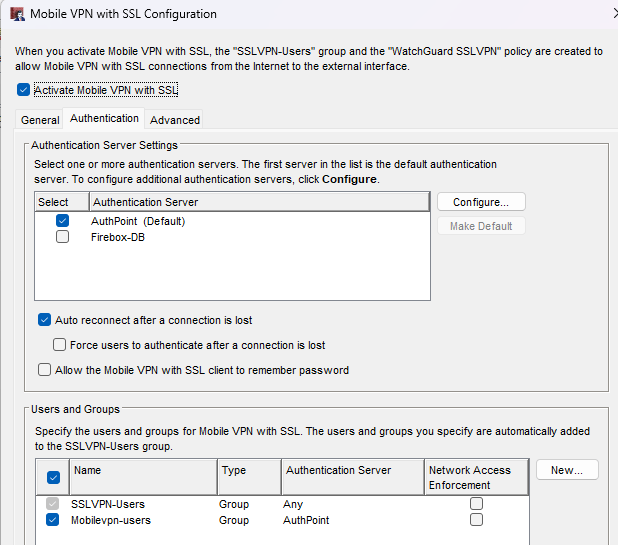
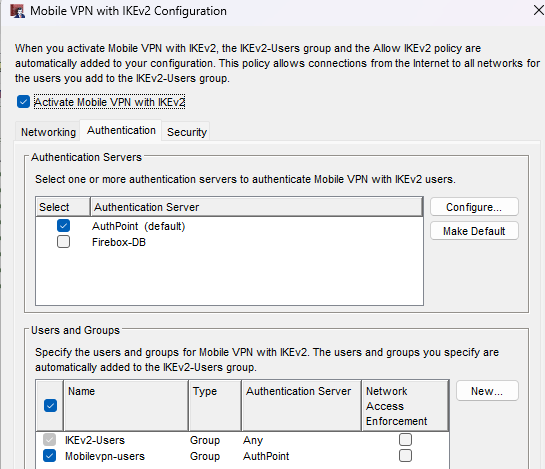
If you have multiple authentication servers and AuthPoint is not the default server, you must log in with: AuthPoint\user2
Final Result
When you connect with SSLVPN or IKEv2, you should receive an MFA Push notification on your mobile device.