This article explains how to install the WatchGuard Agent and enable the ThreatSync+ NDR Collector Agent on an Ubuntu Linux server. The steps apply to Ubuntu Server 24.04 LTS.
Please check also:
WatchGuard’s guide how to install NDR collector to a ubuntu Linux server.
Ubuntu server 24.04 LTS download link
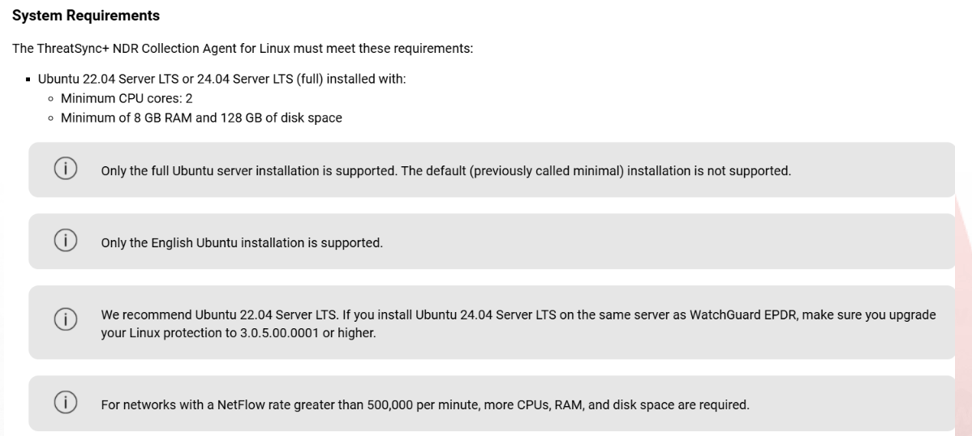
This guide walks you through the full installation process on Ubuntu Server 24.04 LTS, from preparing the system to installing the WatchGuard Agent and enabling the NDR Collector.
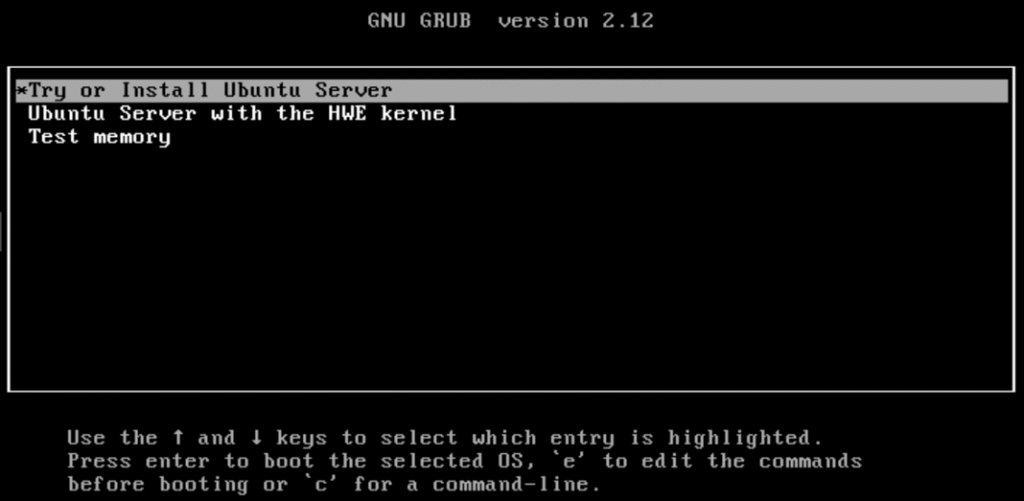
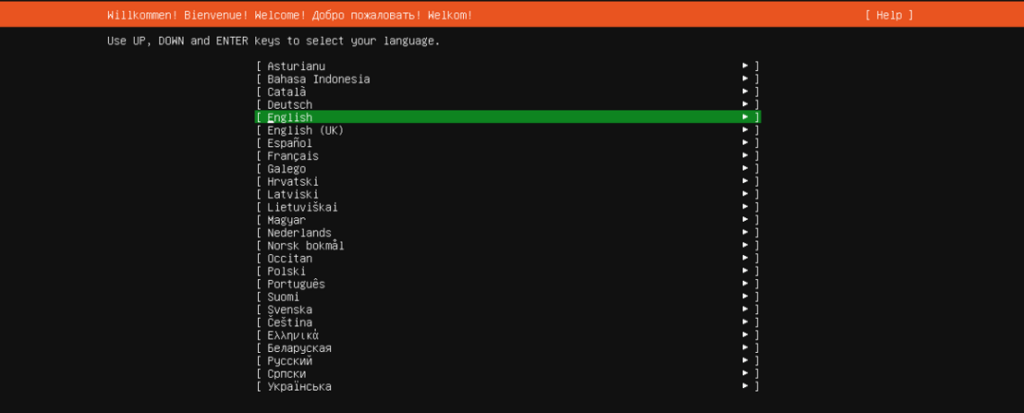
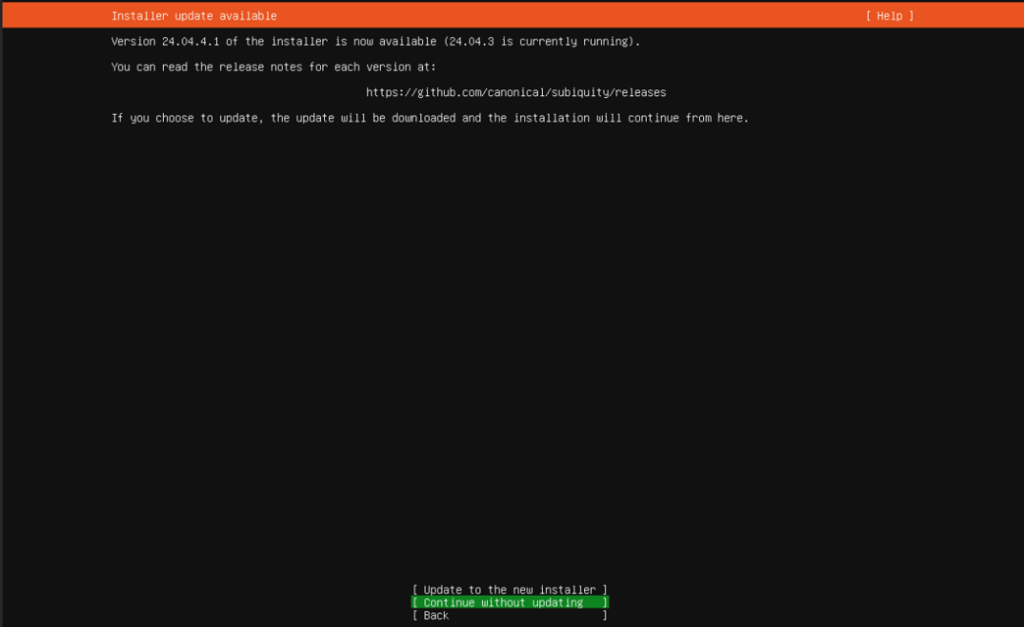
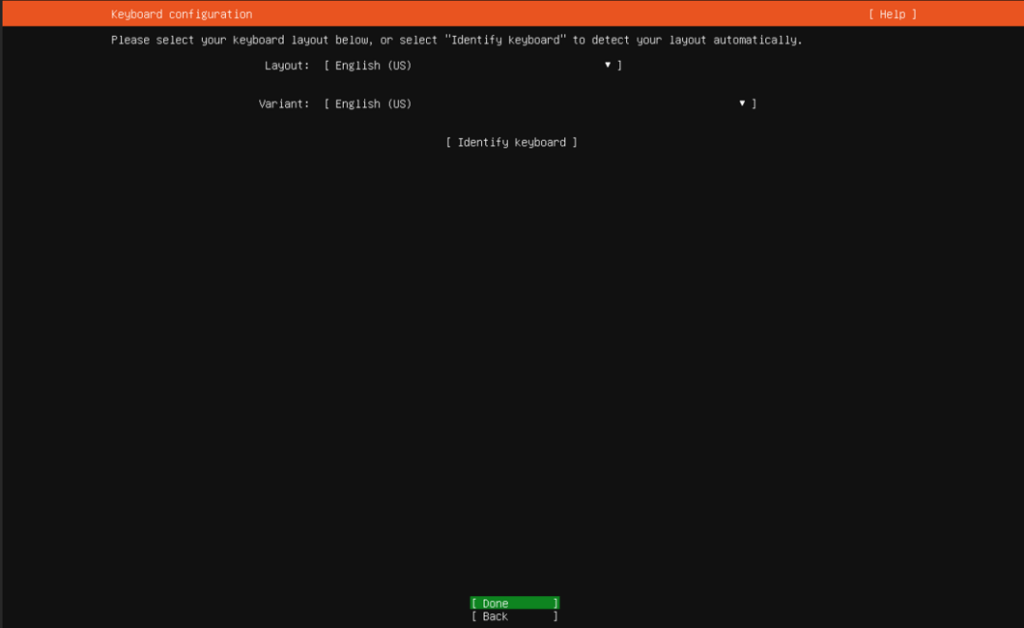
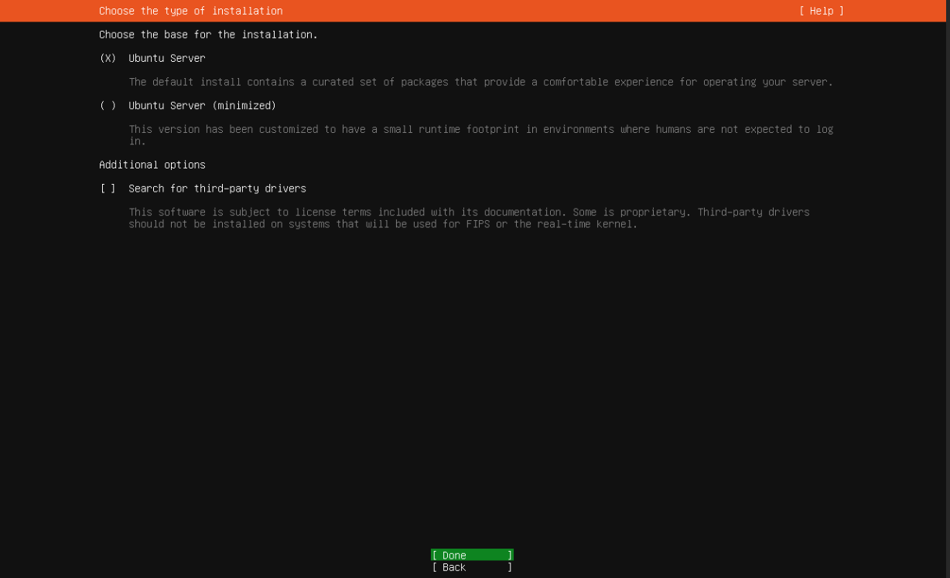
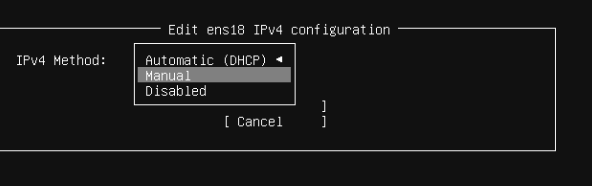
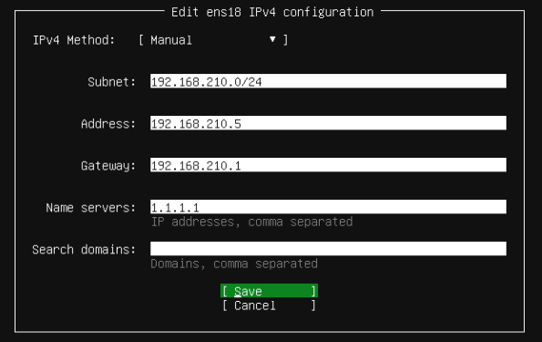
Change the network interface from DHCP to Manual mode and configure a static IP address.

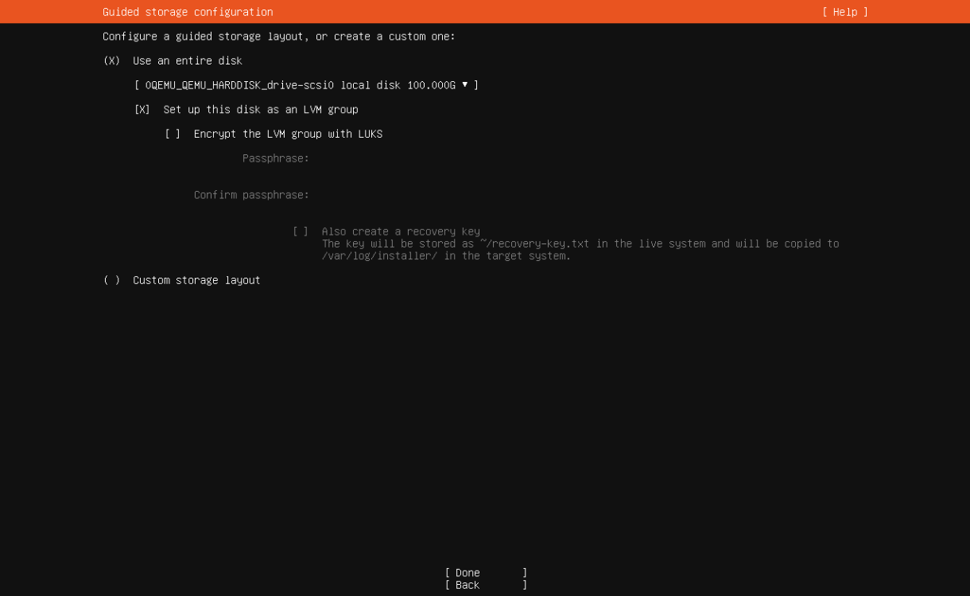
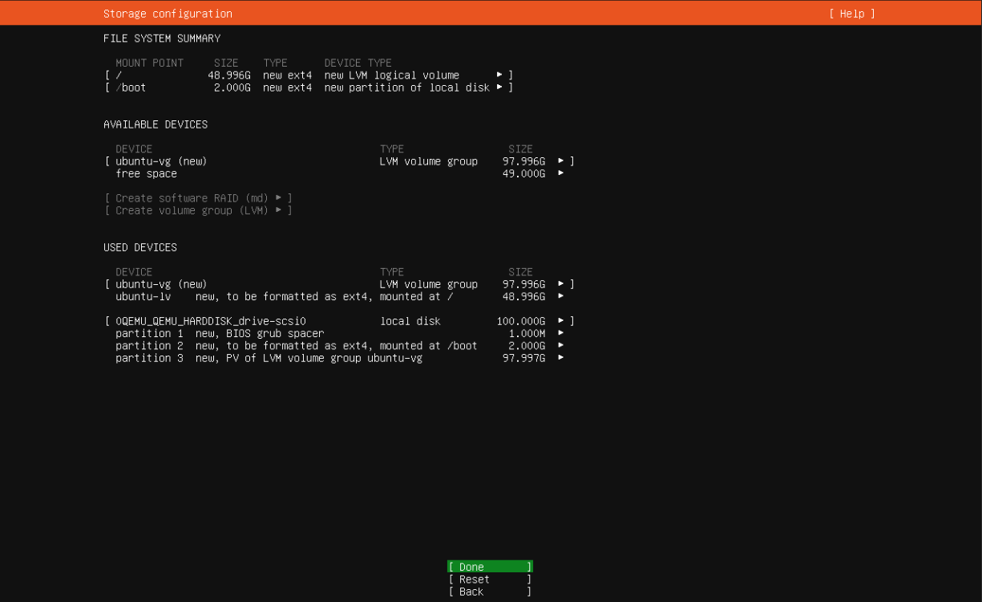
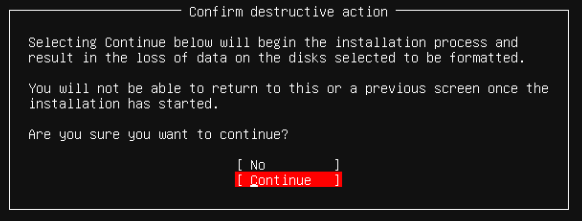
Continue with installation and configure the hard disk configuration settings.
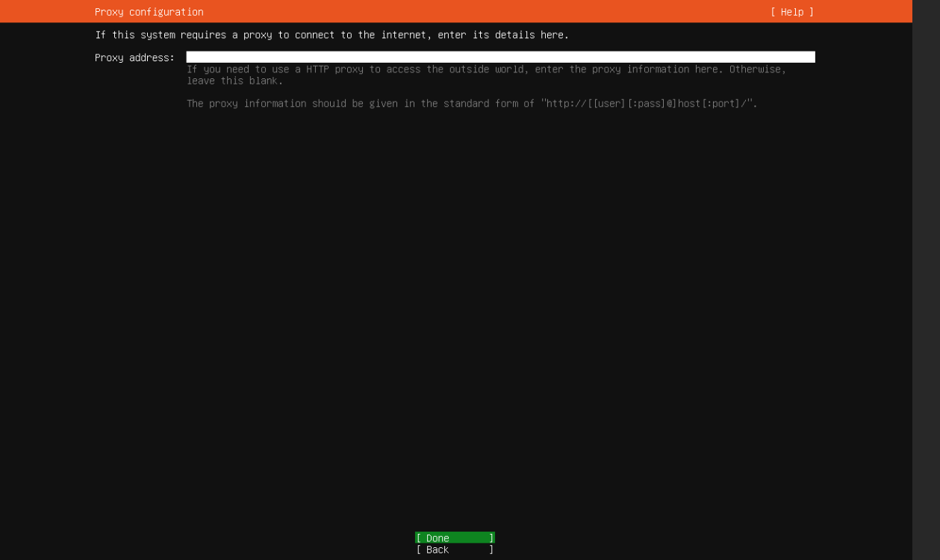
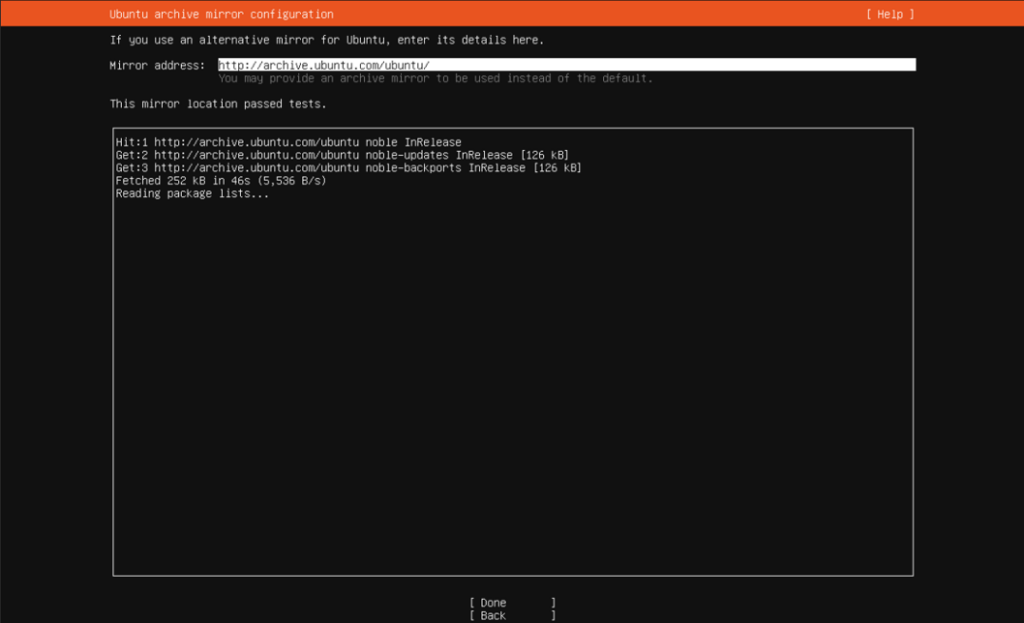
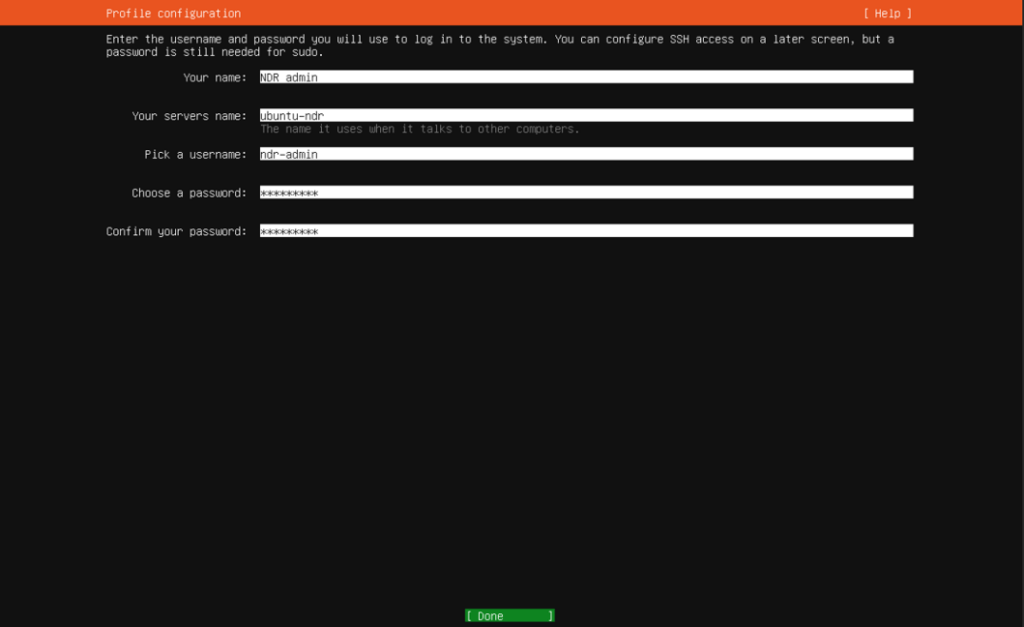
In the Profile Configuration you create a Primary user account and define the computer name
Continue with the installation of the Ubuntu Linux.
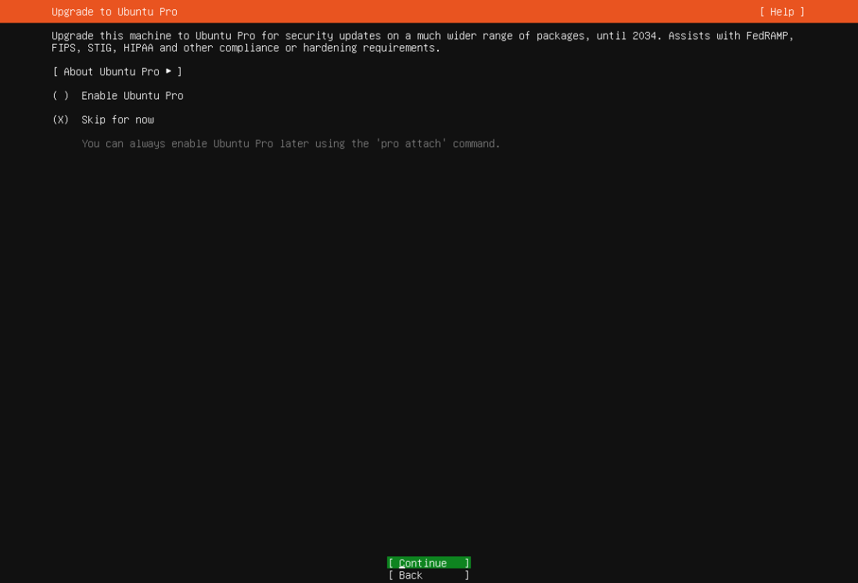
Skip the Ubuntu Pro option.
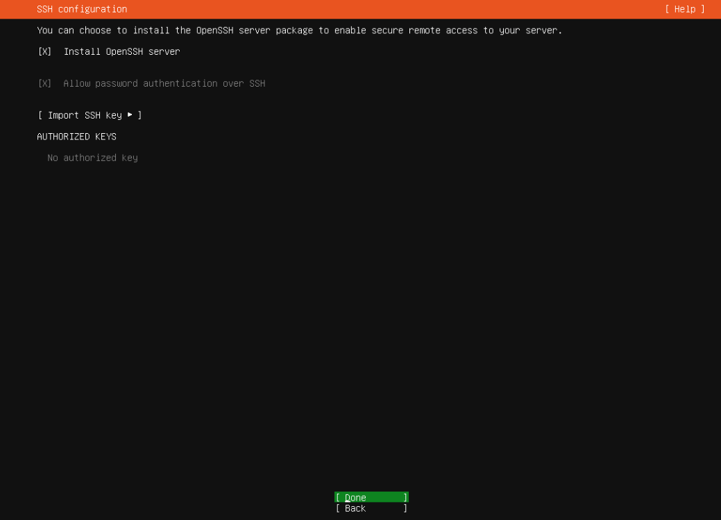
Install SSH (recommended).
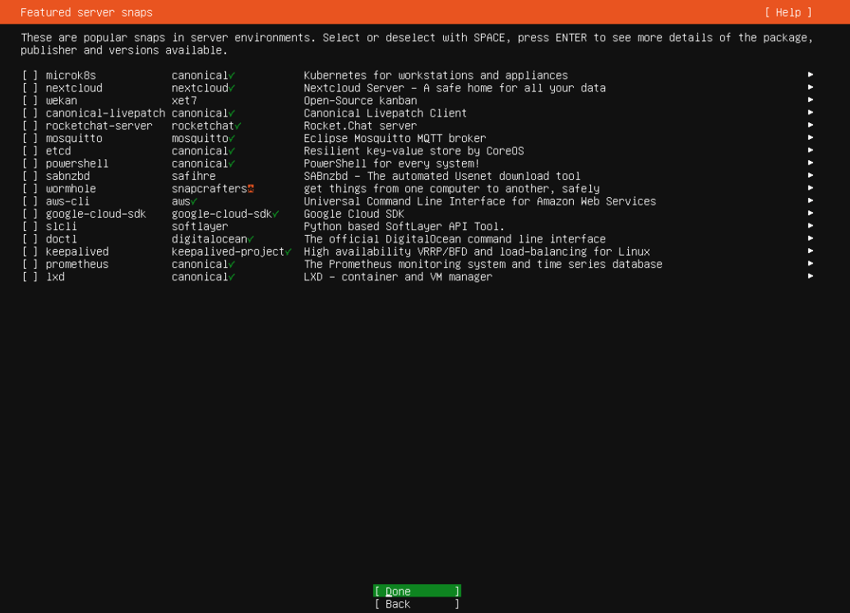
Don’t choose any Snaps options.
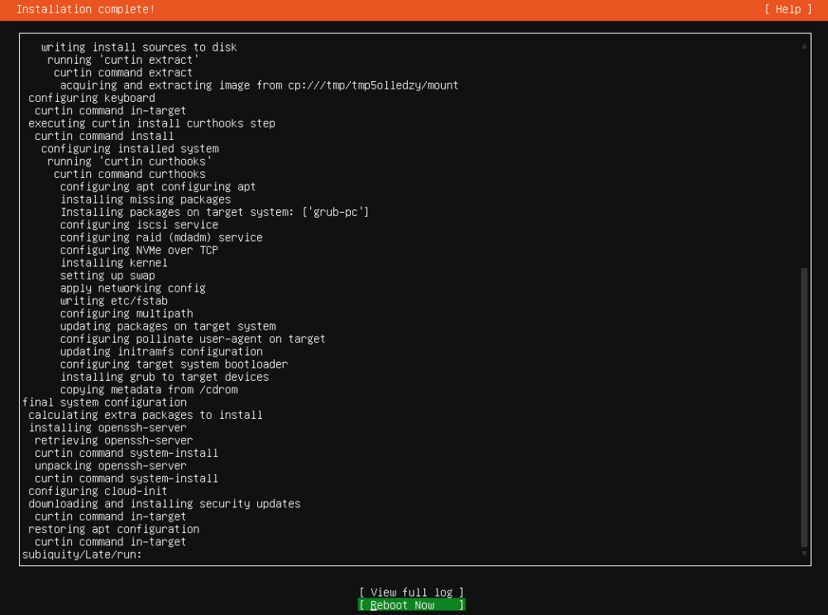
Choose Reboot Now after installation is complete and Login to the Ubuntu with the credentials you entered earlier.
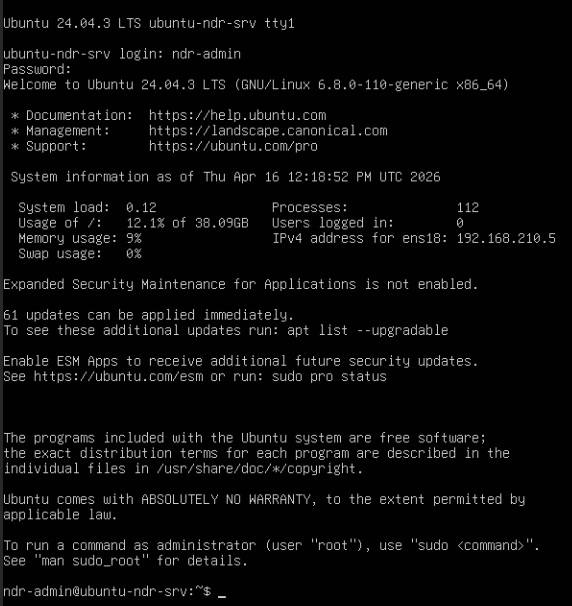
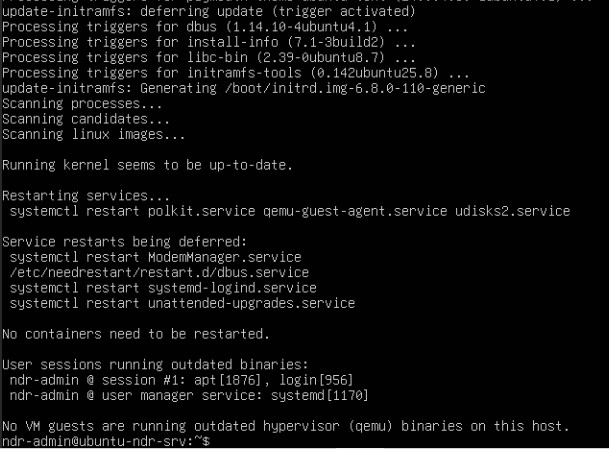
Run sudo apt update and sudo apt upgrade to update the ubuntu
Log in to your WatchGuard Cloud account.
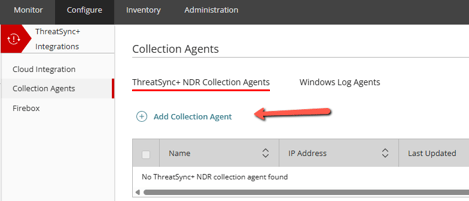
Select Configure > ThreatSync+ Integrations > Collection Agents.
On the ThreatSync+ NDR Collection Agents tab, click Add Collection Agent.
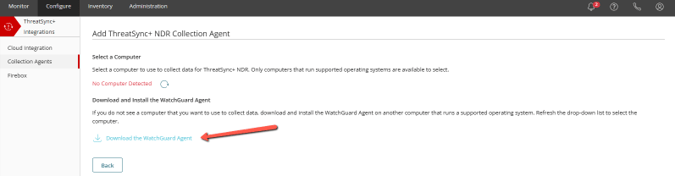
In the Download and Install the WatchGuard Agent section, click Download the WatchGuard Agent. In the Download WatchGuard Agent Installer dialog box, select Linux.
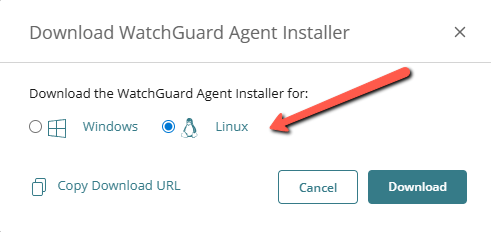
Copy the “WatchGuard Agent.run” file to the Linux server example with WinSCP software and run start the installation, sudo bash “WatchGuard Agent.run”


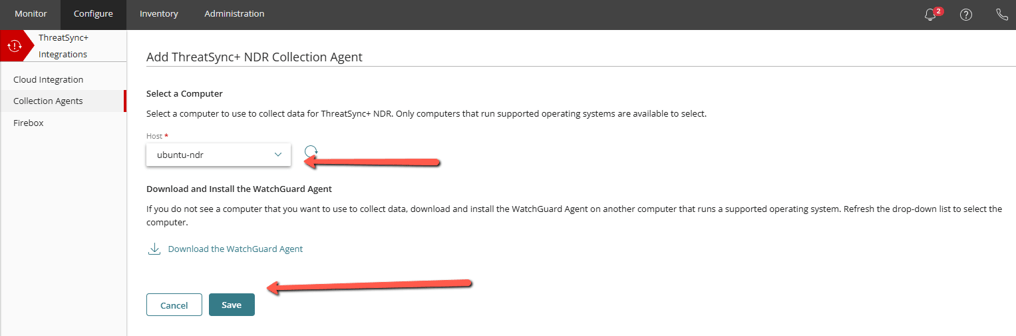
From the Host drop-down list, select the Linux computer that you want to use as a ThreatSync+ NDR Collection Agent and Click Save.
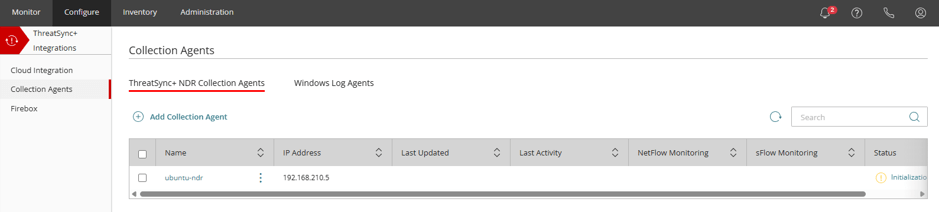
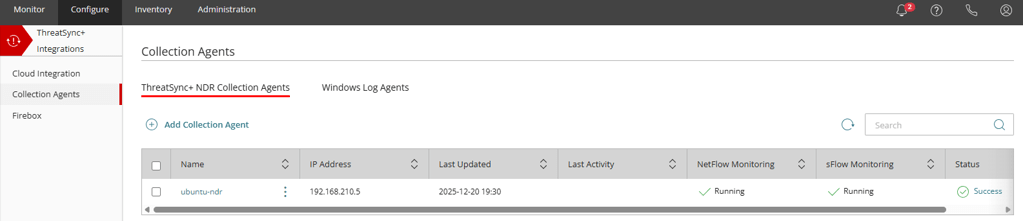
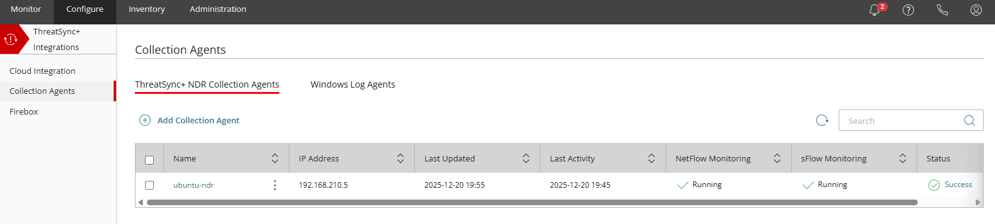
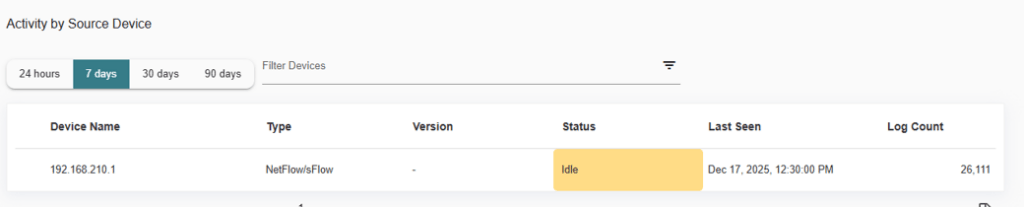
And after NDR Collection Agent starts to receive NetFlow traffic